Ever wonder how to paint a bike without taking it apart and get it done right? At first instance, the thought of doing it without leaving any mechanical errors seems just as alien until you learn how they turn out those impeccable finished products.
But if you’re thinking just how to paint a bike without taking it apart and find it too complex and requires many steps or stuck with it, then you haven’t heard it all yet. Spraypainting bikes can be a simpler process than one might think – provided they take the right steps to do so.
Is it Possible?
Yes, you can certainly paint a bicycle without disassembling it. You don’t always have to go around and take off the parts that you want to paint; you can use masking tape so that you can get near these discrete locations without having to redo your handiwork. That’s just a taste of how to paint a bike without taking it apart.
Certainly, if you are going for a more professional look, disassembling your bicycle might be much better. However, giving your bike a fresh look doesn’t necessarily mean taking it apart – you just have to know how to paint a bike without taking it apart and avoid unnecessary disassembly and reassembly.
You can use masking tape to cover the parts of your bike that you would prefer not to get painted and then use a spray paint gun to coat the rest of your bike. In this way, it’s a lot quicker. You can check the guide down below.
Re-Spraying and Not Sanding
If you want to know how to paint a bike without taking it apart from the proper way, you need to know about the importance of sanding before re-spraying first.
When re-spray painting a bike, make sure you remove the old paint first. This will ensure that the reapplication process will be thorough and efficient. You don’t want to end up doing this project twice or having to sand down your bike all over again because it’s not perfect the first time around.
Sanding a bike is a crucial part of the painting and restoring it to a more pristine state. If you want professional results, the last thing you want to do is try to paint over existing paint and get an uneven textured finish. It’s better to simply sand/remove the old paint and start anew as this will provide a higher quality finish that you can be proud of in the end.
Compared to other modes of transport, bikes are compact and moveable so you shouldn’t spend too much of your day sanding them. The most efficient way to sand a bike would be to either do it manually or use an electric sander.
Things You’ll Need

You won’t know how to paint a bike without taking it apart if you don’t have the necessary tools to get it done right. The most important supply without which you cannot complete this job is quite obvious – your painting supplies like the best paint for bike frame.
It’s imperative to remember that you’ll need the proper paint for this exercise, so you must be particular about the sort of paint you choose for the spray-painting activity. You can select any paint you like.
Make sure you have all of the tools needed to do your job as effectively as possible. That might include spray cans, paint rollers, aluminum foil, duct tape, and of course the paint you’re going to coat your bike with – high gloss if possible. If you want everything to come out the best, buying a paint sprayer and using it throughout isn’t only the quickest but also the best.
If you’re looking to save money, it may not be possible to afford some newspapers, masking tape, and trash bags.
How It’s Done
Friendships, relationships, and the things that truly matter in our lives can be very easy to take apart, but extremely difficult to put back together again once they have been broken.
The same idea applies to bikes – you can change their look by adding a new set of colors, but it’s important not to replace major components because then it wouldn’t be considered the same bike anymore.
You don’t need to disassemble your bike when you’re going to spray paint it. And what’s even better? You don’t even have to be an engineer to do a major revamp on your bike, making it colorful and beautiful in ways that go beyond simple looks and extend into your overall personal style, making it feel like an ideal companion whether you’re riding a fancy bike, beach cruiser, recreational bike, or sports bike.
If your bike is looking a bit worse for wear and you don’t want to part ways with it, then that’s fine as long as you freshen things up. Here you’ll learn some simple tips that will help you rejuvenate it in no time.
Alright, now let’s get down to business. Below is a step-by-step guide on how to paint a bike without taking it apart.
Preparation
The pre-painting part is essential to ensure a satisfying painting experience. For example, if you mistakenly didn’t cover any areas where you don’t want your paint to reach, then you might as well call this painting exercise quits. Depending on the medium, failure to protect places you do not want the paint can sully things pretty quickly and you don’t want that to happen.
1. Cleaning
As any cyclist knows, rust is no good for your bike. It can cause several problems and the rusting process requires a fair amount of effort to stop and can be expensive and time-consuming beyond that.
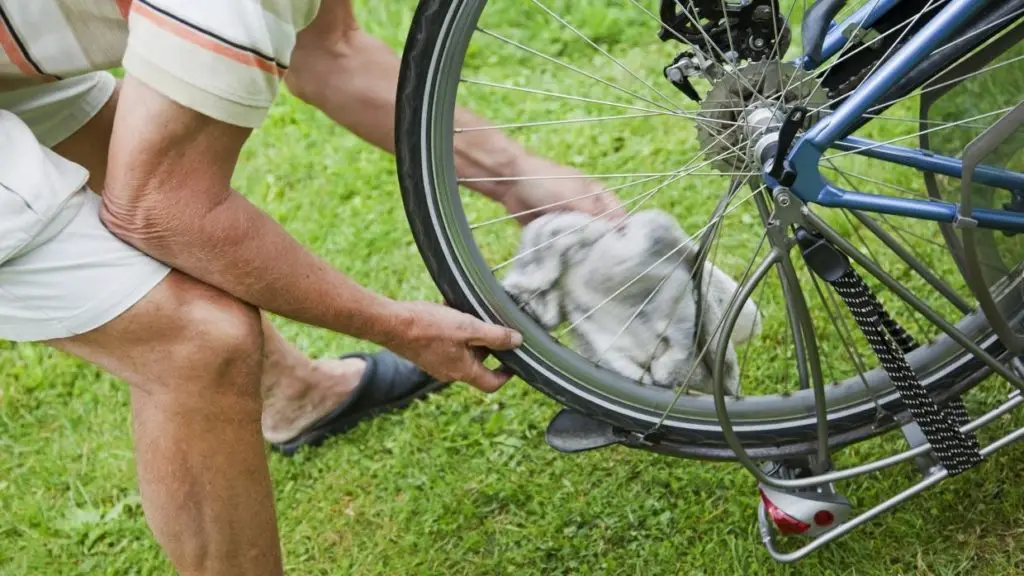
Many cyclists have tried to find a way to get rid of rust for good, but one method that seems to be consistently mentioned on forums and websites about biking is using Coke to deal with this issue. Yes, this is that other use of Coca-Cola that everyone talks about in the bike community!
First, take some kind of aluminum (like aluminum foil) and crumple it up into a ball. Next, dip the ball in Coca-Cola (or any other soft drink), making sure there’s enough to cover the entire surface. Now you need to liberally apply Coca-Cola to the places where you plan on applying paint by way of a paintbrush.
Finally, wipe off any loose rust with fine sandpaper before spraying paint onto the clean metal surface! That’s it – you can now direct your friends once again towards something amazing that you just did!
2. Sanding
Sanding is a crucial part of this entire process of knowing how to paint a bike without taking it apart and doing it.
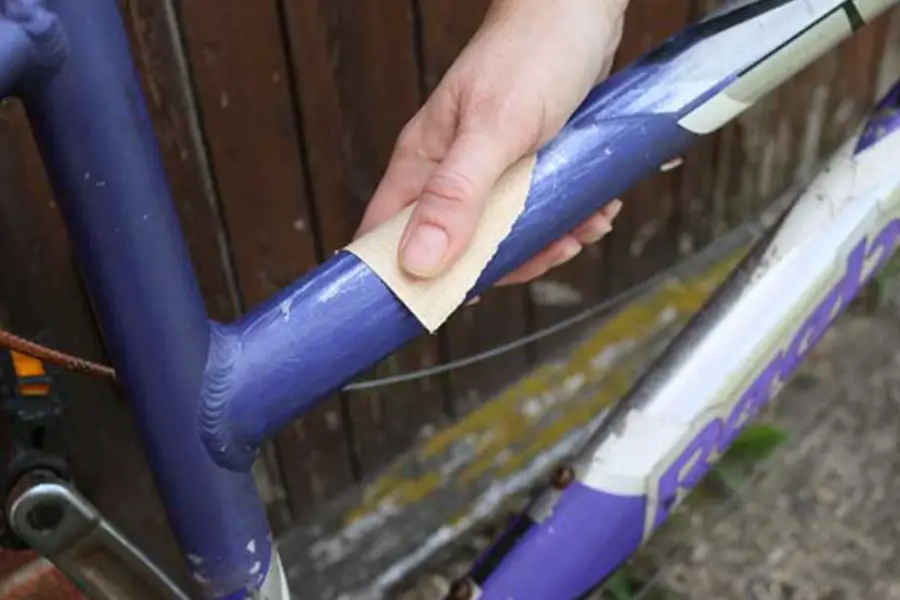
So before the whole spray-painting, your bicycle thing begins, it’s best to sand and scrape off any traces of old paint or rust. Some 80-grit sandpaper will usually do the job, and then move on to some 200-grit sandpaper or better yet using a chemical paint stripper to take care of the job quickly and efficiently.
Once you’ve sanded your bike down, it’s important to clean it out with water and a sponge to remove all of the dust before moving on to the next step.
3. Covering
Another important thing to learn how to paint a bike without taking it apart properly is covering bike sections you don’t want to be painted.
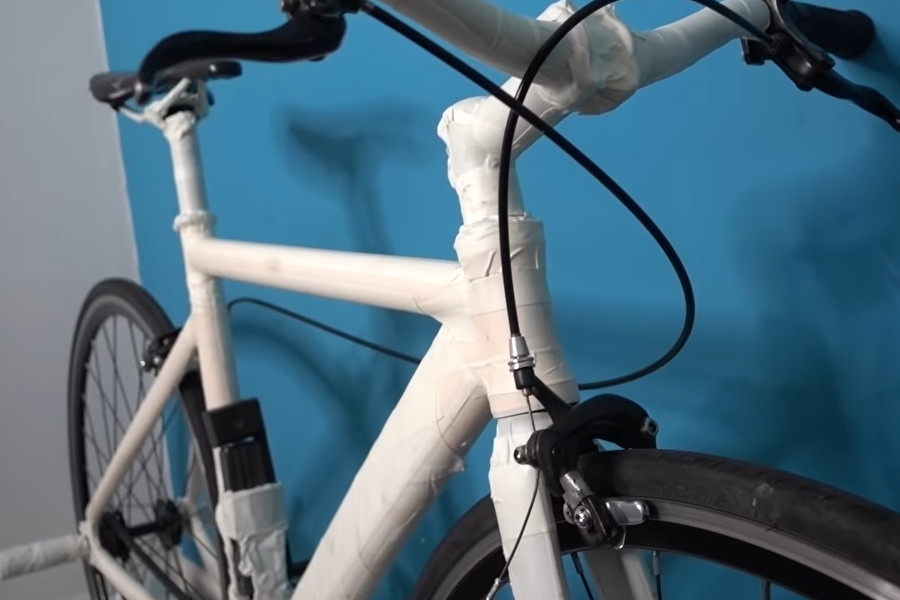
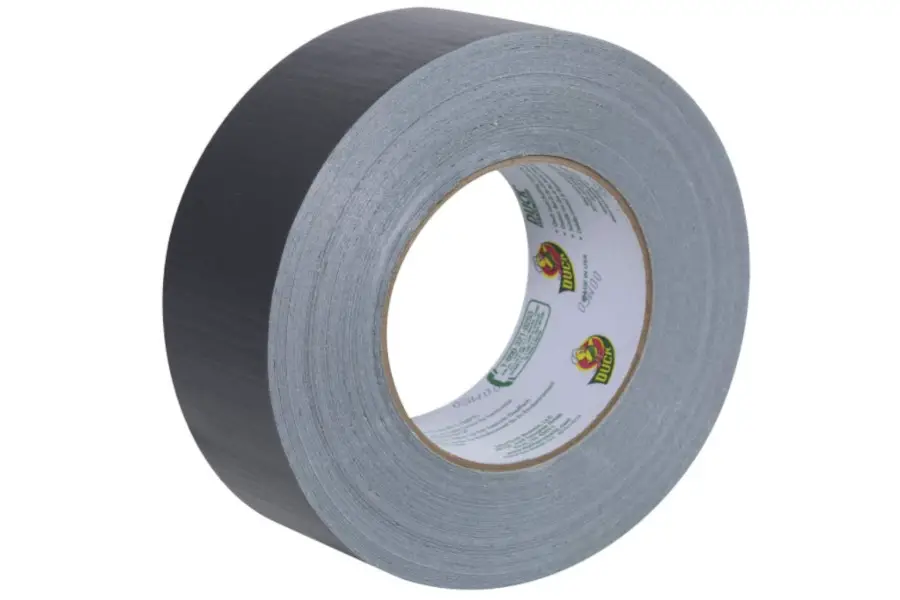
So make sure to cover up any places that may get paint in them before you begin painting so that it doesn’t get on surfaces you don’t want it to. Masking tape, aluminum foil, or duct tape are all great solutions for this task. Once covered up with these, they provide a barrier between what you’re painting and other surfaces whilst still allowing you to paint freely.
A tape can be really handy in closing off the flow of paint during the painting process. For areas that you may be worried about paint spilling out of, buy yourself some sturdy pieces of cardboard or learn how to use painter’s shields. They’re designed specifically so that they won’t spill through.
From the handles to the seats to the spikes, foils are incredible because of their ability to adapt and fit just about any surface that they might be able to integrate with. You should also be mindful of your area while doing this painting work. Depending on where you are may determine what precautions you must take before doing so – especially when you’re not in a workshop.
4. Putting the Bike Upside Down
When you plan to paint your bike, it may be a good idea to get a bike rack. You can attach your bike to the rack before spraying it with paint. This is another step on how to paint a bike without taking it apart correctly.
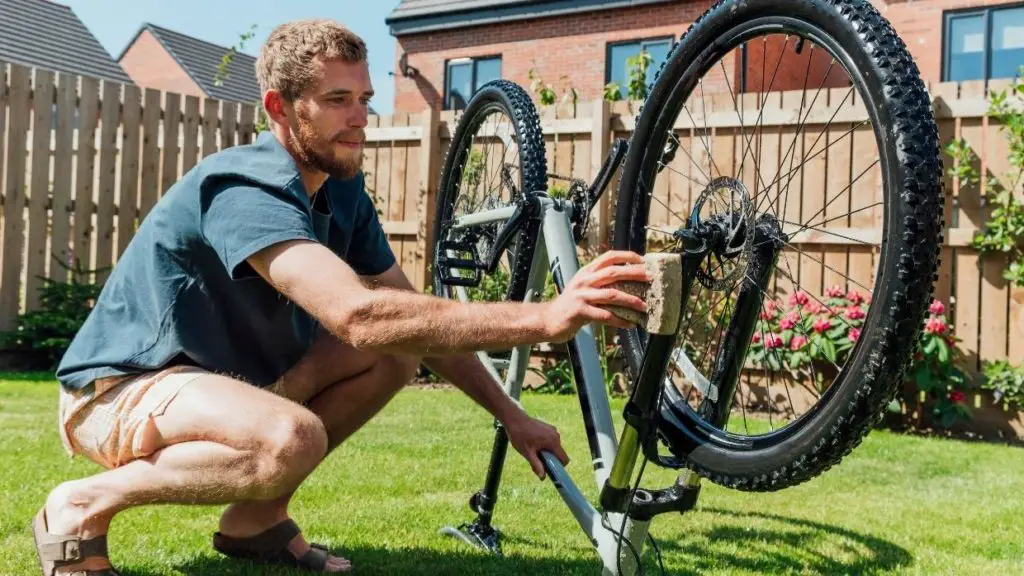
You can also spread out newspapers on the floor and place the bike on its head, upside-down. This will prevent paint from getting into places it shouldn’t. And again, this is a vital part of how to paint a bike without taking it apart successfully.
There are several alternative solutions to your problem, one of which is looking for an out-of-the-way tree and hanging your bike in it using ropes. This allows you to re-spray the bike without having it take up any time or space.
Spraying
If you don’t consider this section another important part, then there’s no point in knowing how to paint a bike without taking it apart properly – just hire the pros then but that of course will cost you.
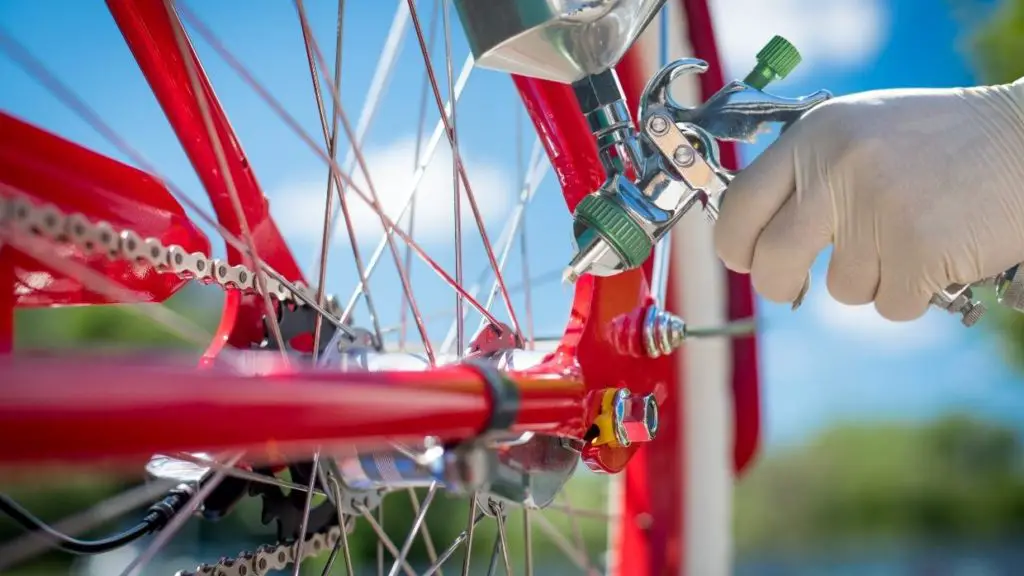
So if your bike needs to be refurbished a little bit and you prefer the DIY process, don’t worry because it’s not something only masterful artists can do. What you need to do is follow the tips below:
When you paint your bike, make sure that it’s layer by layer. After completing one layer, leave it to dry for a while before applying another layer, and then be sure to work quickly, going from side to side.
Doing this whole bike painting job works well with a side-to-side pattern of movement. For one thing, you’ll want to achieve a balance so it’s in the best interest of your masterpiece to create an equal layer that gives you a pleasing result for your efforts. It will cut an unpleasant sight for one area to be more colored.
And it is also important to not focus on one section, making it thicker or more colored. Otherwise, you might find yourself needing to redo a lot of work if you spent too much time giving it your full attention at once. See to it that all spots in your painting get a similar amount of love and attention across the whole bike.
Drying
There’s just no way you’d be able to learn how to paint a bike without taking it apart properly without considering this part of the process.
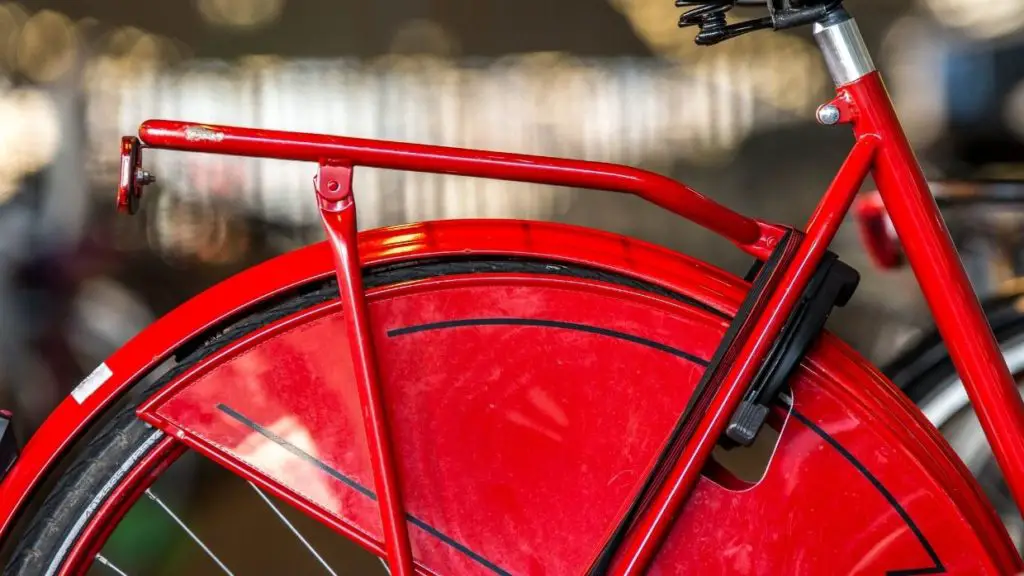
Okay, now that you’re done repainting your bike; it has regained its beauty. There is still one important step remaining that will complete the process: Letting your paint dry completely. Great things are always built on patience after all, and no great thing was ever good without some time spent upon it.
If your spray painting efforts are taking longer than expected, it’s important to give the paint a good few hours to dry before continuing on with a protective coat. To avoid any overlap or inky messes, keep a rag on hand just in case!
Once the paint dries, you can remove the masking tapes, newspapers, foil, or other assorted covering materials. These are all things that you will have applied beforehand and that are designed to protect certain areas from the color that might otherwise go there.
Adding More Layer
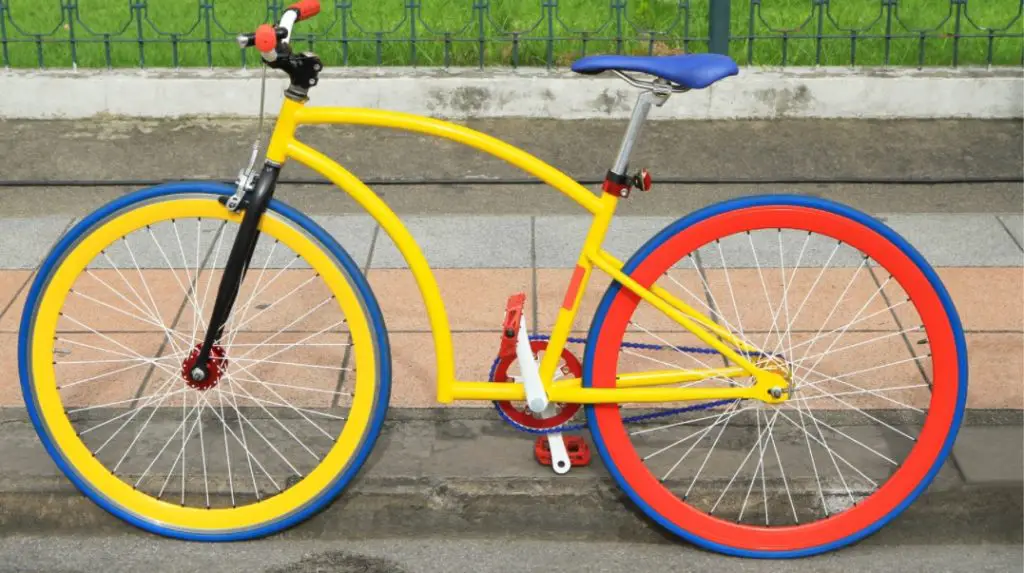
If you want to add some color to the two layers you’ve already made, then go ahead and take one more layer on hand and just apply it as another layer.
You can personalize already existing bike parts to make your bike look even more unique. Perhaps you might want to think about adding bicycle frame decals or something like that to the light of one’s bicycle that might be lacking to add one final flourish of character.
And that’s how to paint a bike without taking it apart properly!
How to Paint Bicycle Rims
If you want to learn how to paint a bike without taking it apart – the bicycle rims in particular – and take it to an all-new level of awesomeness, check out this tutorial video by MR HAPPY HIPPO.
Frequently Asked Questions
Is painting over existing bike paint doable?
If a bike’s paint is chipped or old, painting over it with some fresh coats of paint can give it a brand-new shiny look. Your own personal custom touch will guarantee a unique and one-of-a-kind ride for cycling enthusiasts of all ages. Painting the bike will revive your ride, and you don’t have to take it to a professional mechanic or spend hundreds of dollars on a new one!
What kind of paint should I use for my bike?
So, what’s your preference when it comes to bicycle paint? Both airbrush paints and spray paints are the go-to alternatives for both bikers and other cycling enthusiasts. It doesn’t matter if you’re a professional or an amateur, because a fresh coat of paint can give any bike new life!
Give it time to dry before you start riding, however – this is important, so use airbrush paint or try to go for a cheap alternative in case you aren’t as patient (just don’t forget about all of that prep work like making sure you have all tools necessary to slap on your dye)!
Is painting a bike with a brush ideal?
Using an airbrush to paint all the visible bits of a model can sometimes be difficult as it doesn’t cover large areas in one go and you have to spend a little longer getting the lines nice and smooth. But if you only want to paint a small area, such as on cable stops, or hiding edges, then using an airbrush is by far the quickest way to get good results.
How much spray paint does painting a bike need?
It depends on the type of paint you’re using and how thick your coat is, but generally, one 400mL can of spray paint can color part of a frame and fork – as long as you apply the technique needed when applying spray paint.
How can you fix scratched bike paint?
Here’s a tip for when your bike paint gets scratched. This should work for light scratches like scuffs and scrapes. First, clean the area, then brush on candle wax. Let it dry and it should blend right in – no one will see that scratch anymore!
Conclusion
As you’ve read in this article, there is no single technique to which one should adhere when spray-painting one’s bike. Various supplies are available to help you finish the task according to your style and demand of time. And when done right with a bit of patience and love, you’ll find this entire spray painting work a satisfying experience overall.
This entire bike painting process won’t really burn holes in your pocket. In this modern-day, that’s quite reasonable when you’re thinking about what it gets you – a gorgeous two-wheeled machine that captures the look of a new persona you’re striving to reach or simply lets your inner artist shine through with a design.
Working on your bike can be a challenge; some might think it’s not so complicated but it is if you want to get the job done right. Take the time to apply all the strategic approaches suggested here, and you will be glad you did when you see how good your bike looks after it’s been brought to life again.
We hope that this post answered your questions about how to paint a bike without taking it apart and inspired you! Please come back here and leave us a comment on how your painting efforts went.


