It’s happened to all of us. You’re out for a ride, and suddenly you hear that telltale “pfffft” sound. Your bike tire has gone flat. But don’t worry – fixing a bike tire is actually a lot easier than you might think!
This blog post will show you how to patch a bike tire in less than five minutes. So pull out your tools, and let’s get started!

What You’ll Need
Before you get started, you will need to gather a few supplies.
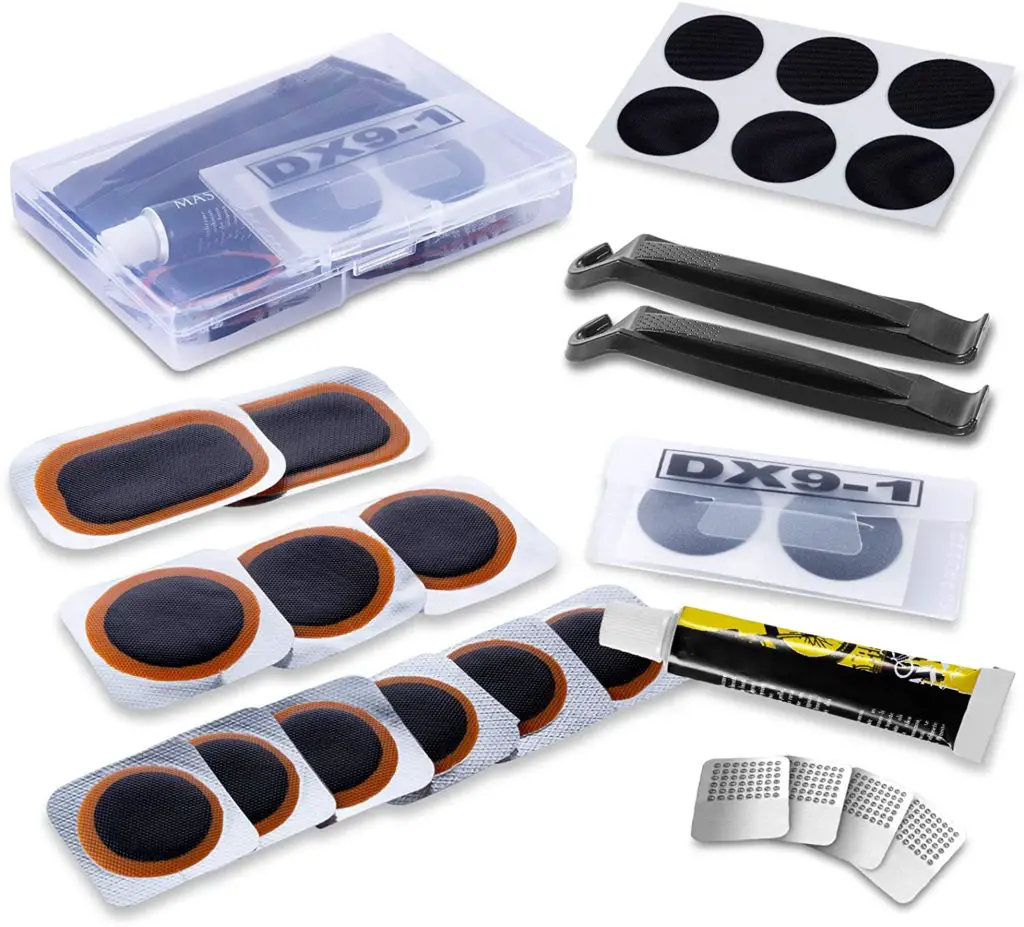
Bike Tire Patch Kit – Best Seller
You will also need a bicycle pump. And finally, you will need a clean, dry surface to work on.
We recommend laying down an old towel or piece of cardboard so that you don’t get your tires dirty.
How to Patch a Bike Tire in Less Than 5 Minutes
Now that you have everything you need let’s get started!
- First, remove the tire from your bike. You will need to use a tire lever (or two) to pry the tire off of the wheel.
- Once the tire is off, locate the hole in the tube. If there is more than one hole, or if you are unsure which hole is causing the leak, inflate the tube slightly and submerge it in water. The leaks will cause bubbles to form around the holes.
- Once you have located the holes, deflate the tube completely. Next, take your patch kit and apply a generous amount of glue to both the patch and the tube. Be sure to wait a few minutes for the glue to become tacky before proceeding.
- Now, apply the patch to the tube, and hold it in place for a few minutes to allow the glue to set.
- Finally, re-attach the tire to the wheel, and use your bicycle pump to inflate the tire. You’re now ready to hit the road!
The Benefits of Patches Over New Tubes
There are a few benefits to patching a bike tire over simply replacing the tube.
First, patches are much cheaper than new tubes.
Second, they’re quite easy to do – as you can see from this blog post, it takes less than five minutes to patch a bike tire!
And third, patched tires tend to be more durable than new ones. So next time you get a flat, don’t despair – just grab your patch kit and get to work!
Why Choose Tires with an Inner Tube or Tubeless Tyres for Your Bike?
When you’re choosing new tires for your bike, you can go with an inner tube or tubeless tires. So, what’s the difference?
Inner tubes are the traditional way to do things. They’re made of rubber, and they hold air in much like a balloon.
On the other hand, Tubeless tires don’t use an inner tube. Instead, they have a sealed rim that holds air in, much like a car tire.
So, which should you choose?
There are a few benefits of tubeless tires over inner tubes.
First, they tend to be more puncture-resistant because there’s no inner tube for a sharp object to puncture.
Second, they can be inflated with less air, making them more comfortable to ride on.
And third, they’re generally lighter than inner tubes, which is always a bonus!
If you’re looking for new tires for your bike, we recommend giving tubeless tires a try. You might be surprised at how much you like them!
Tips For Maintaining Your Bicycle and Avoiding Flat Tires
You can hit the road with confidence now that you know how to patch a bike tire! But how can you avoid flat tires in the first place?
Here are a few tips:
- Check your tires regularly for signs of wear and tear, and replace them when they start to get too thin;
- Avoid riding over a glass or other sharp objects that could puncture your tires;
- Keep your bicycle clean, and make sure that there is no build-up of dirt or debris on your tires;
- Inflate your tires to the recommended pressure – underinflated tires are more likely to go flat;
By following these simple tips, you can help keep your bicycle in good condition and avoid flat tires. And if you do get a flat, you know how to fix it!
What household items can I use to patch a bike tube, aka homemade inner tube patch?
There are a few household items that you can use to patch a bike tube. These include:
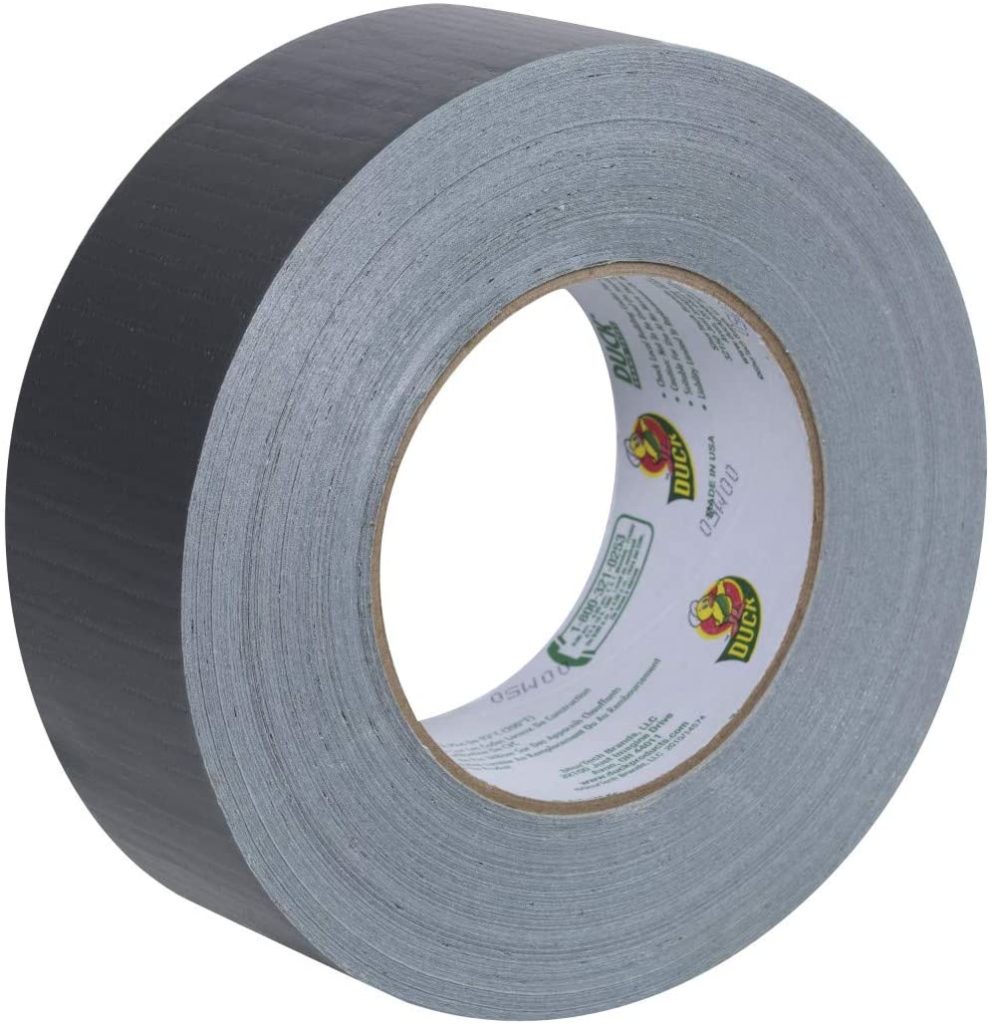
- duct tape;
- packaging tape;
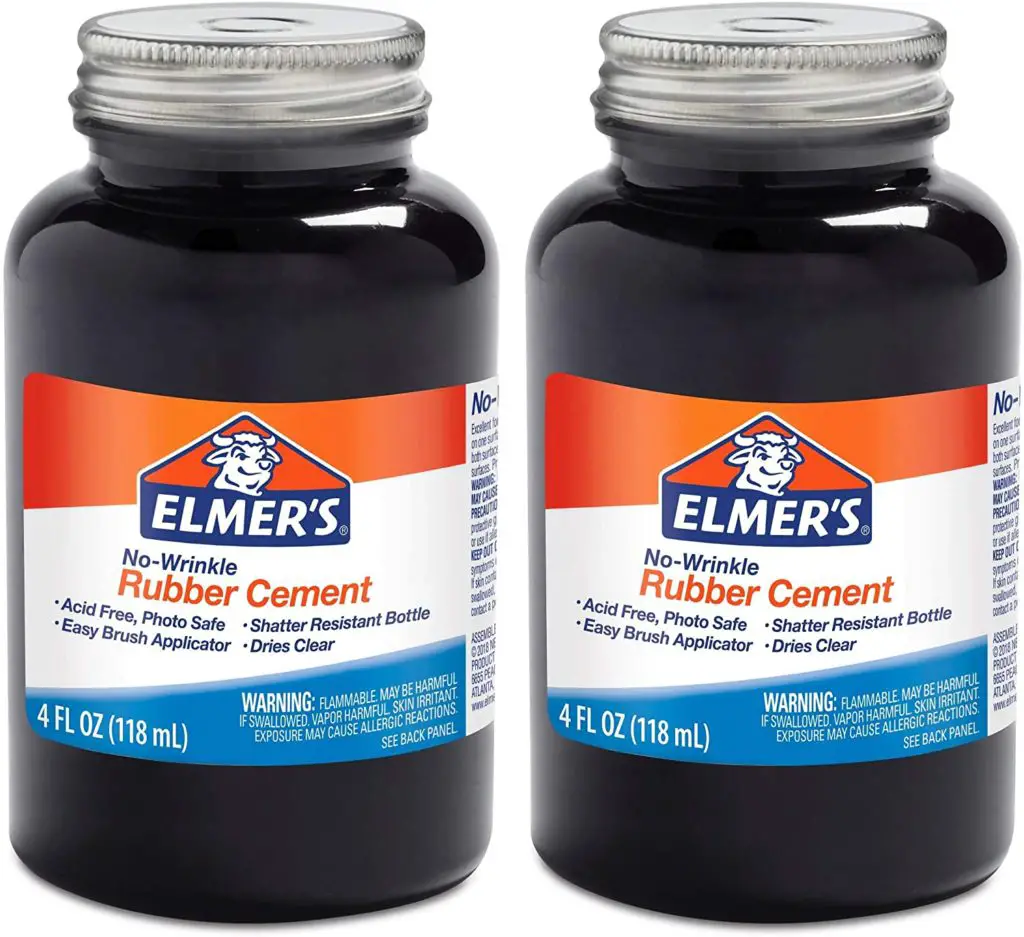
- rubber cement;
- old inner tube pieces;
How to patch a bike tube with rubber cement?
- Remove the tire tube from the rim. Locate the site of the damage that needs to be addressed. Apply an alcohol solution to the hole or area that requires patching. Rub, then let dry completely.
- Rub the surface with a sanding block to rough it up. This addition of roughness enhances the adhesive’s ability to stick to the surface. To remove debris, spray with alcohol and rub again.
- Make a patch out of a bigger piece of rubber (such as an old tube) to cover the sanded area. Edge thinner than the rest with sand.
- Rubber cement should be used on the underside of the patch. It should be completely coated but not gobbed onto it. Apply rubber cement to both sides of the bike tube with a hole.
- Place the patch over the damaged area. Squeeze it as hard as you can to help it stick and hold it. Cover the edges and top of the patch with additional rubber cement.
- Attach a plastic bag or cling wrap cover (a portion of a plastic bag or cling wrap) over the replacement. The plastic will eventually wear away, but the patch will have thoroughly adhered to the tube by that time.
How do you repair a bike tube with duct tape?
If you don’t have rubber cement, you can use duct tape to fix the tube. But be aware that it won’t work as well as rubber cement. You can also come back later and fix it with rubber cement. Just make sure to remove all the tape residue with alcohol and sandpaper.
- Locate the bike tube’s damage. To do so, remove the tire and rim from the bike. Calculate and cut a piece of duct tape to fit around any gap or damage.
- Before attempting to adhere to the duct tape, clean the bike tube. If alcohol is accessible, use it; but if not, water will suffice. Make sure it’s completely dry in any case.
- Apply the duct tape to the afflicted area. Firmly press and retain for up to a minute. Check the problem area regularly. When the duct tape begins to wear down, you’ll probably need to replace it.
How do you repair a bike tube with packing tape?
If you’re in a bind and don’t have rubber cement or duct tape, you can try using packaging tape. It might not work as well as the other two options, but it’s worth a shot! Here’s how:
- As before, locate and remove the damaged portion of the bike tube. If there is more than one hole, make sure to cover them all.
- Cut a piece of packaging tape that will fit around the circumference of the afflicted area. Make sure it’s big enough to cover all gaps and holes.
- Clean the bike tube surface with alcohol (or water, if that’s all you have). Let it dry completely before proceeding.
- Adhere the packaging tape to the bike tube. Firmly press and hold for up to a minute. Check on the problem area every so often; when the tape begins to wear down, you’ll need to replace it.
By following these simple tips, you can help keep your bicycle in good condition and avoid flat tires. And if you do get a flat, you know how to fix it! With a little bit of preparation, you can be back on the road in no time at all.
What to Do if You Get Punctured by Something Sharp while Cycling – how to patch a bike tire?
Suppose you’re unlucky enough to get punctured by something sharp while cycling, don’t despair! There are a few things you can do to fix the situation.
If you have a spare inner tube with you, simply replace the punctured one and continue your journey. If you don’t have a spare tube, then you’ll need to patch the punctured one. This is easily done with a little bit of know-how and the right materials.
First, remove the wheel from the bicycle frame. Then, use a tire lever to pry off the tire from the wheel rim. Once the tire is off, locate the hole in the inner tube. If there is more than one hole, identify which hole is leaking air by holding the tube up to your ear and listening for escaping air.
Once you’ve located the hole, it’s time to patch it up! There are a few different ways to do this, but the most common method is to use a vulcanizing patch. These patches come in various sizes, so be sure to get one that’s big enough to cover the hole completely.
First, roughen up the area around the hole with sandpaper to apply the vulcanizing patch. This will help the patch adhere better. Then, peel off the backing from the patch and press it firmly into place over the hole. Finally, use a tire lever to re-attach the tire onto the wheel rim and put the wheel back onto the bicycle frame.
And that’s it!
Checklist of Things you Should Carry When Riding your Bike
– Spare inner tube;
– Vulcanizing patch kit;
– Tire levers;
– Pump;
– Sandpaper (if you plan to use a vulcanizing patch);
By following these simple tips, you can be prepared for anything while out on your bike ride! Stay
Final Words
Cycling is a great way to stay active and enjoy the outdoors. But flat tires can put a damper on your plans. By being prepared and knowing how to fix a flat, you can avoid this inconvenience and get back to pedaling!
Do you have any tips for fixing flats? Share them in the comments below!
If not, I hope this article has helped you learn how to patch a bike tire. Thanks for reading!


