Changing the brake fluid is a task that many people find daunting. However, with some knowledge and familiarity with your bicycle, changing the brake fluid can be a quick and easy job!
In this article, we will go over exactly how to do it. We’ll start by going over what you need to buy before changing the brake fluid on your bike.
Next, we’ll talk about where to get started changing brake fluids on your own, as well as common mistakes that are made when changing brakes.
Finally, we’ll wrap up with some questions and answers from our community members.

Air may occasionally enter a hydraulic system, causing it to fail. This will reduce braking effectiveness, forcing you to apply more force to the lever or pump it multiple times to activate the brakes fully.
If this is the case, you’ll need to bleed the hydraulic system using these steps if there’s too much air in it.
How To Change Bicycle Brake Fluid and Drain It
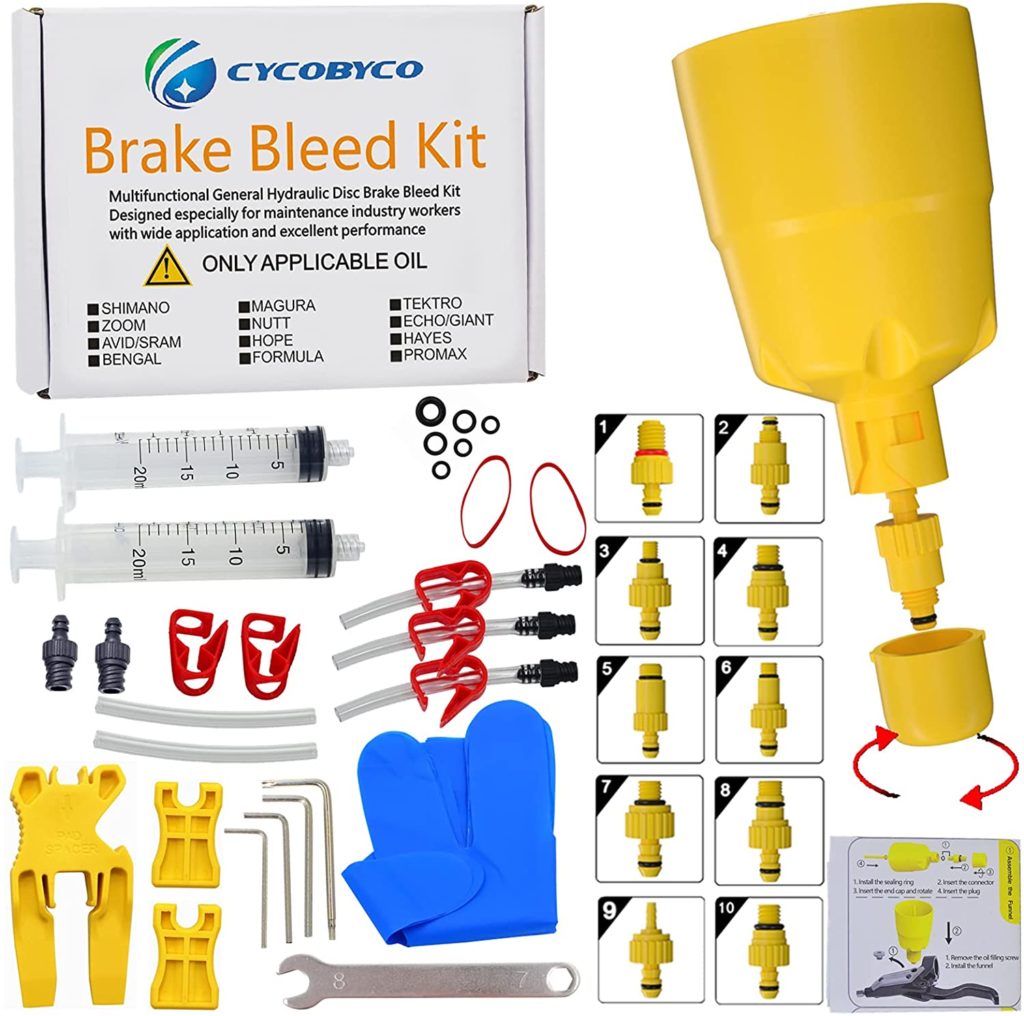
You’ll need the following tools:
Or you can buy all in kit, which is really useful if you doing that quite often.
Brake Bleed Kit Compatible with All Models
Step 1
Remove the wheels to minimize the danger of brake fluid splashing on the brakes.
– Between the brake pads, place a spacer in the caliper.
– Remove the brake fluid reservoir cover on the brake lever with an Allen key. Keep your hands away from any of the brake fluid.
Step 2
With a 10mm wrench, loosen the bleed nipple on the caliper.
– Slide one end of a short section of the transparent tube over the bleeding nipple.
– Fill a plastic container with enough room to collect the old brake fluid and place the other end of the tube in it.
Step 3
Pull the brake lever back to the handlebar to drain some brake fluid.
– Tighten the bleeding nipple.
– Ensure that all equipment is accessible because the subsequent stages will need your attention.
– Because brake fluids can be corrosive, cover the surface below where you are working. To keep your hands safe, use disposable mechanic’s gloves.
Step 4
Start by draining the brake fluid from your bike’s reservoir. Ensure the reservoir is level and open the bleeding nipple while filling it with brake fluid. To minimize air bubbles, pour in a steady, smooth stream.
– Squeeze the brake lever to the handlebar and hold it. Close the bleeding nipple.
– Don’t mix brake fluids. Brake fluids from different manufacturers or DOT 4 fluids cannot be interchanged.
Step 5
Fill the reservoir until no more air bubbles flow through the transparent tube when you squeeze the brake lever in Step 4. You’ll probably need to repeat this step four or five times before all of the tubes’ bubbles disappear.
– When the tube is bubble-free, and the reservoir is full, seal the bleed nipple.
Step 6
Remove the cover of the brake fluid reservoir and clean it out, but don’t take any with you.
– Center the brake pads by pushing your wheels back and pumping the brake lever twice.
– Get on a flat bicycle and give it a try. If your brakes aren’t working as they should, there may still be air in the system. Repeat Step 4 to ensure that everything is tightened correctly.
Frequently asked questions
How often should you change bike brake fluid?
It is a good idea to change the brake fluid in your bike every two years. If you use your bike frequently, changing the brake fluid every year is a good idea. Also, if the brake fluid level gets too low during this time, it should be changed as well.
How often do I need to bleed my brakes?
If there are no leaks or any other issues with your brakes and they still don’t feel responsive enough, a brake bleed is likely needed. If you have replaced your pads or rotors recently, changing the fluid might also help.
What kind of bike brake fluid should I use?
You can use DOT-approved mineral oil for hydraulic disc brakes and mineral oil with an additive that prevents corrosion in wet conditions for rim brakes. You may want to avoid DOT-approved glycol-based brake fluids because they can damage rubber seals and hoses.
What if I mix different types of brake fluid?
Suppose you mix DOT-approved mineral oil for hydraulic disc brakes with mineral oil with an additive that prevents corrosion in wet conditions for rim brakes. In that case, it’s possible to create a new type of brake fluid that reacts unpredictably. In the worst-case scenario, it could destroy your brake system.
What if my brakes still don’t feel right after changing?
If you have changed your brake fluid and they are still not responsive or working correctly, there is most likely air in the hydraulic lines of the bike’s braking system. You must use a hydrometer to check for air bubbles to remove this air. If there are no air bubbles present in the brake fluid, changing out some of it will also be necessary.
Final words
Brake fluid is a necessary part of any bicycle. It’s essential to keep an eye on the levels, changing them when needed. When changing your brake fluid, be sure to use DOT-approved mineral oil for hydraulic disc brakes or mineral oil with an additive that prevents corrosion in wet conditions for rim brakes. If you have any questions, be sure to consult a professional. Thanks for reading!

