When it comes to changing bike pedals, most people find that the process is a little more difficult than they originally anticipated. It is not as easy as unbolting one bolt, and then you’re done. You need to take a few steps before removing your old pedal and installing your new pedal. This article will guide you through the process of changing the pedals on your bike with some helpful tips for ensuring success!
Why Would you Need to Replace Your Bicycle’s Pedals?
- Pack a bike for shipping. It may be necessary to take off the pedals;
- To change the style and look of your bike. There is a variety of pedals to choose from with different colors, sizes, materials, etc. You can even find reflective or glow in the dark pedals for added safety!;
- If you wear out your pedals, they may no longer be secure to your bike;
- If one of the pedals broke while you were cycling, this is another reason why you should replace them!
Important to Know Before Removing Bike Pedals
This is a note to remember that pedal threads are different from the left side and right side.
- The right side pedal is threaded in a right-hand thread (removes counterclockwise, installs clockwise).
- The left pedal has a left-hand thread, which means it should be removed clockwise and installed counterclockwise (pulls to the right).
The pedal for your left foot is different than the pedal on your right. When you unscrew it, it will go in the opposite direction since it has a left-hand thread. So turn the pedal clockwise to loosen and counterclockwise to tighten.
Pedal makers add this extra complication because of a mechanical phenomenon called precession. Precession is when the downward force of your foot on the spindle while pedaling causes the axle to spin in a different direction in your crank arm. If both pedals had standard, right-hand threads, one of them would loosen and fall off mid-ride due to the pedaling force. As a result, they remain firmly in place without any additional bolts since they are threaded to pull back into the crank while you pedal.
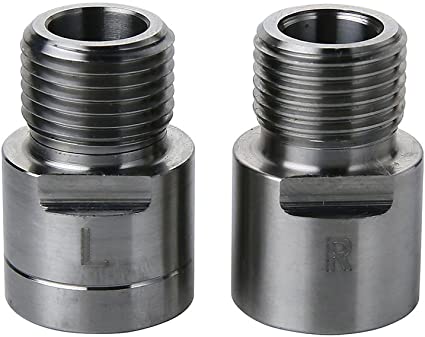
The most common type of pedal is stamped with an “L” and “R.” The thread will appear to slope upward as it gets tighter. Left-hand threads slope to the left, while right-hand threads slope to the right, as you can see below.
Sometimes stamps are missing, or their marls have worn off. You can tell if this is the case by holding the pedals side-by-side with their spindles up.
Now take a look at the thread’s angle. The threads on a right-side pedal slope up and to the right, whereas those on a left-side pedal slope up and to the left.

The right and left pedals have opposing threads, so attempting to fit and tighten the incorrect pedal into the other crank arm’s holes can create significant harm.
If a pedal appears to have caught onto the left crank arm thread, it’s probably because it’s been inserted at an angle. However, suppose you try to “power through” by believing that the threads are simply tight or rough. In that case, you will effectively cross-thread the crankshaft spindle hole and risk destroying it.
Tools You Will Need to Remove and Install Bike Pedals
The most significant step in a pedal swap has the correct equipment. As with other maintenance operations, having the appropriate tools is critical to a successful pedal replacement.
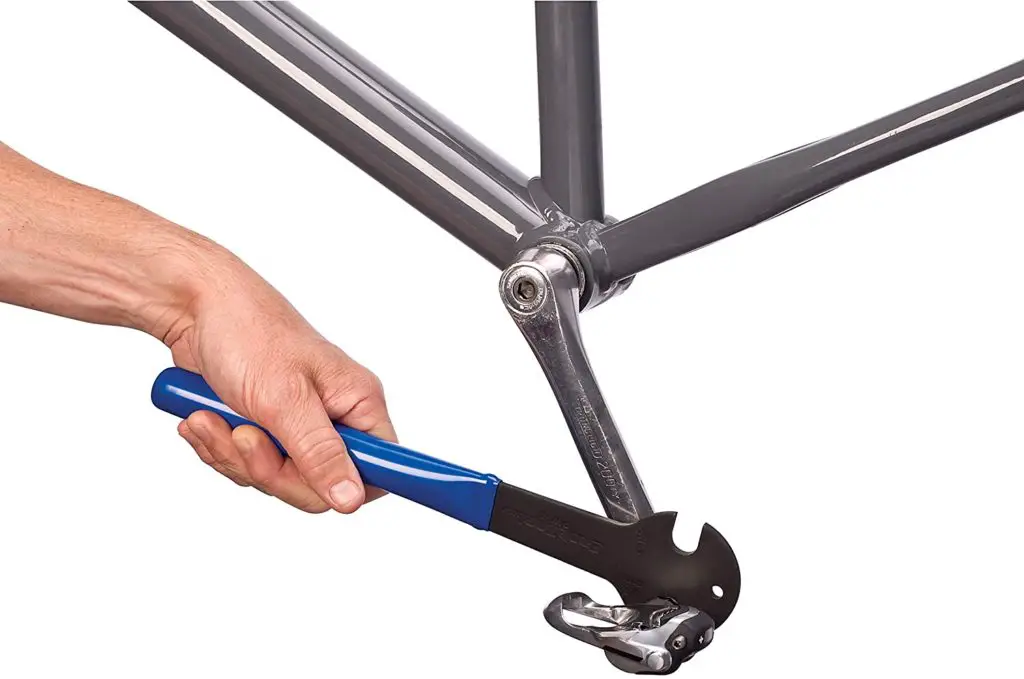
Every pedal manufactured today uses one of two methods to attach to the crank arm. Most pedals require a pedal wrench, which is a long, thin tool that fits between the pedal and the crank leg’s external spindle flats.

A decent pedal wrench is not very costly, and it will save you from a lot of aggravation and perhaps some bleeding knuckles. Believe me, I know what I’m talking about. 😉
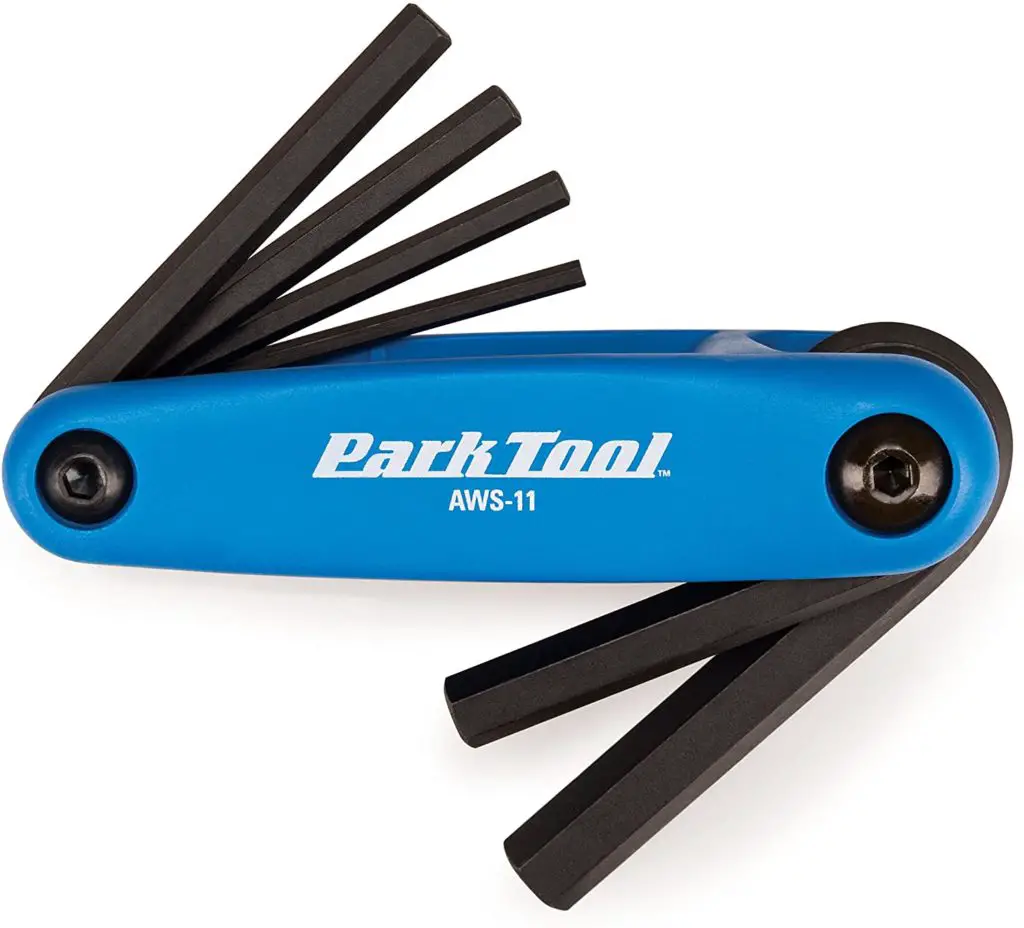
If you’re upgrading to higher-end pedals, you’ll probably just need a hex key that fits the spindle from the inside of the crank leg. The backside of the pedal thread will generally have an 8mm hex fitting.
An adjustable torque wrench and bike grease are also advised. These will ensure that your pedals are tightened to manufacturer recommendations and are simple to remove later.

Removing Bike Pedals
- Put your bike on the repair stand. Put the chain on the larger gears. This helps to protect against getting cut by the gear teeth;
- For clear pedal access and leverage, rotate the crank arm;
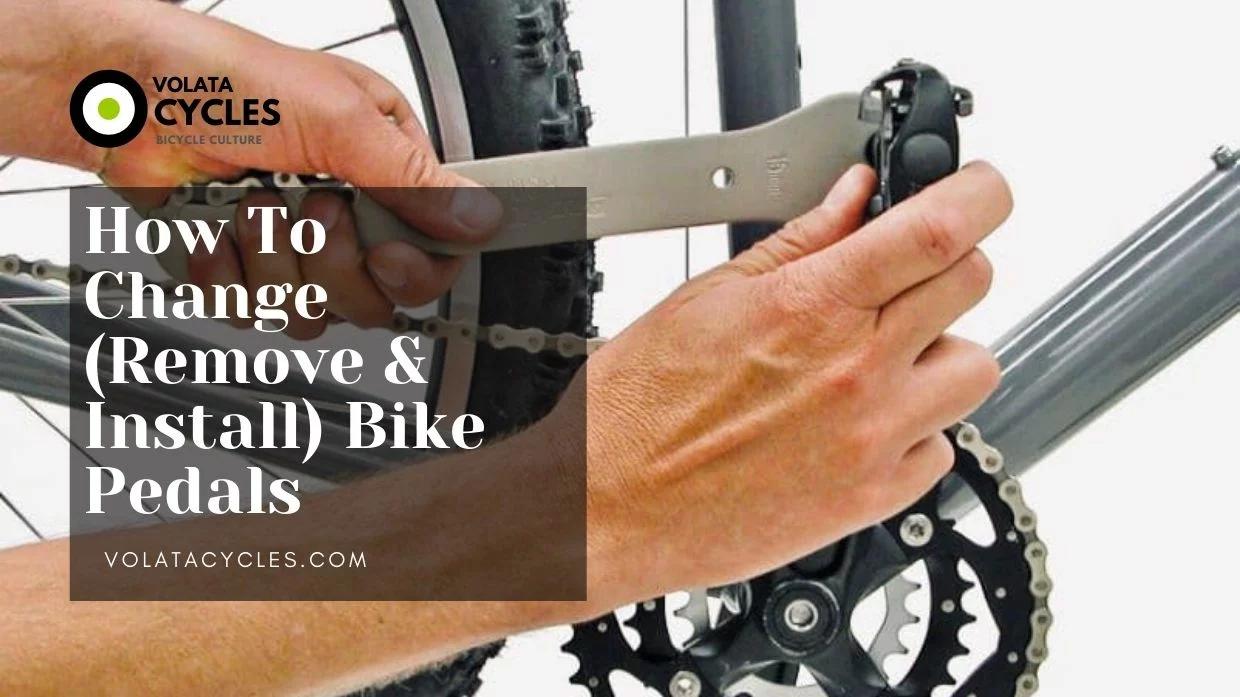
- Take your pedal wrench and place it on the spindle flats or hex wrench into the port on the inside of the crank arm;
- Push with all your strength to loosen the spindle: clockwise for the left-side pedal, counterclockwise for the right;
- Keep turning the spindle until the pedal is free. Then do it on the other side.
Some pedal types and models do not require the use of a pedal wrench flat. To remove and replace the pedals, use an 8mm hex wrench in this fitting.
Keep in mind that the wrench is on the backside of the pedal while turning the pedals. The direction of the pedal thread has not altered, but the way in which the wrench appears to turn “clockwise” or “counterclockwise” may appear different.
View the wrench from a right-angle perspective, standing to the bike’s right for the right pedal and to the left for the left. Make adjustments in accordance with this.
Installing Bike Pedals
- Look for a letter on one of the pedals and put it on the right side. If you can’t find a letter, look at the threads to see which is up. Then put it on the right side;
- Use some bike grease to lubricate the spindle threads;
- At a 90-degree angle, insert each pedal into its side’s crank arm. They should fit readily and smoothly into place;
- Put your pedal wrench on the flats of the spindle. If you have a hex wrench, insert it in each crank arm’s ports;
- Turn the right pedal clockwise and the left pedal counterclockwise to tighten it;
- When you feel resistance, tighten the pedal within 1/8 of a rotation beyond the manufacturer’s recommended torque.
You’re done! Now you should be ready to go. Check your pedals regularly to make sure they are securely tightened.
FAQ
Which pedal is backward?
The left pedal spindle is reverse threaded.
What could I use instead of a pedal wrench if I didn’t have one?
If you do not have a pedal wrench, you need to use the 15 mm open-end wrench. Take a look at the pedal and make sure there is a place for your wrench to attach.
How to Remove Bike Pedals That are Stuck?
If bike pedal stuck in crank arm, spray the pedal with fluid, like WD40. Wait for 10-20 minutes and try to take off the wrench again.
How tight should you tighten your bike pedals?
Always make sure that the pedals are tight. They should be firmly tight, but not too tight. If you lose a pedal, you could crash. And if the pedals are loose, it can damage your crank arm and make it worse than before.
What is the best way to tighten bike pedals?
The easiest and most effective way of doing this is with a pedal wrench. If you do not have one, there are other options for you to try out before resorting to hammer blows or brute force! Be sure that whatever method you use does not damage anything, including the pedal itself.
How to remove Shimano pedals with Allen key?
The first step is to loosen the fixing bolt which holds the cradle to the shoe plate. It is usually located on the back of the crank cradle, about 1/3rd of the way around from front to rear. You might find this easier with two hands or if you can brace yourself against something before you start turning it! This should only take light pressure (a couple of turns) before it starts to move.
Final Words
Pedals can be a pain to install and remove, but following these easy steps and using the right tools will make your life much easier. Whether you’re replacing pedals or installing them for the first time, we hope that our guide has helped give you some tips on how to do so as quickly as possible with minimal frustration. And remember: before taking off those old pedals or putting new ones or always loosen them using an adjustable torque wrench!

